Waiting for a frontend before testing an API couples two unknowns together. When the page fails, you cannot immediately tell whether the request is wrong, the server is wrong, or the browser code transformed the data. A direct HTTP request removes that ambiguity.
The goal is not merely to get one green 200. A useful API test proves that the endpoint accepts the documented input, returns the expected shape, rejects bad input predictably, and behaves consistently when repeated.
1. Start with the endpoint contract
Collect five facts before sending anything: HTTP method, complete URL, required headers, request body or query parameters, and the expected success status. OpenAPI documentation is ideal, but a ticket or backend note can work if it answers those questions.
| Question | Example answer |
|---|---|
| Method and path | POST /v1/orders |
| Authentication | Authorization: Bearer <token> |
| Content type | application/json |
| Required fields | customer_id, items |
| Success | 201 Created with an order ID |
If one of these is unknown, mark it as an assumption. That prevents an undocumented guess from quietly becoming “expected behavior.”
2. Build the smallest valid request
Begin with only required data. Optional flags, custom headers, and realistic production payloads add variables before the basic path has been proven.
curl --request POST 'https://api.example.com/v1/orders' \
  --header 'Authorization: Bearer YOUR_TOKEN' \
  --header 'Content-Type: application/json' \
  --data '{
    "customer_id": "cus_2381",
    "items": [{"sku": "CB-104", "quantity": 1}]
  }'
Use a test account and non-production endpoint whenever possible. Never paste a real token into a ticket, screenshot, shared document, or shell history that other people can read.
3. Inspect more than the response body
Read the result in this order:
- Status code: did the endpoint report success, creation, no content, redirect, client error, or server error?
- Response headers: confirm content type, request or trace ID, caching rules, rate-limit information, and location headers.
- Body: verify types and required properties, not just whether the JSON parses.
- Timing: one slow call proves little, but a consistent increase can reveal a regression.
4. Test one failure at a time
Once the smallest valid request works, create controlled failures. Remove the token. Omit one required field. Send an invalid enum. Request a resource that does not exist. Use malformed JSON. Each variation should have a specific expected status and a useful error body.
- Missing authentication produces 401, not a generic 500.
- Authenticated but forbidden access produces 403.
- Unknown resource produces 404 without leaking internal details.
- Invalid fields produce 400 or 422 with actionable field errors.
- Malformed JSON does not create a partial resource.
Change only one input between attempts. If you change the token, URL, body, and headers together, a successful retry cannot tell you which change fixed the problem.
5. Save a reproducible baseline
Record the working method, URL, non-secret headers, payload, status, and important response fields. Save a failing variant too when investigating a bug. A reproducible request is much more useful than “it works on my machine.”
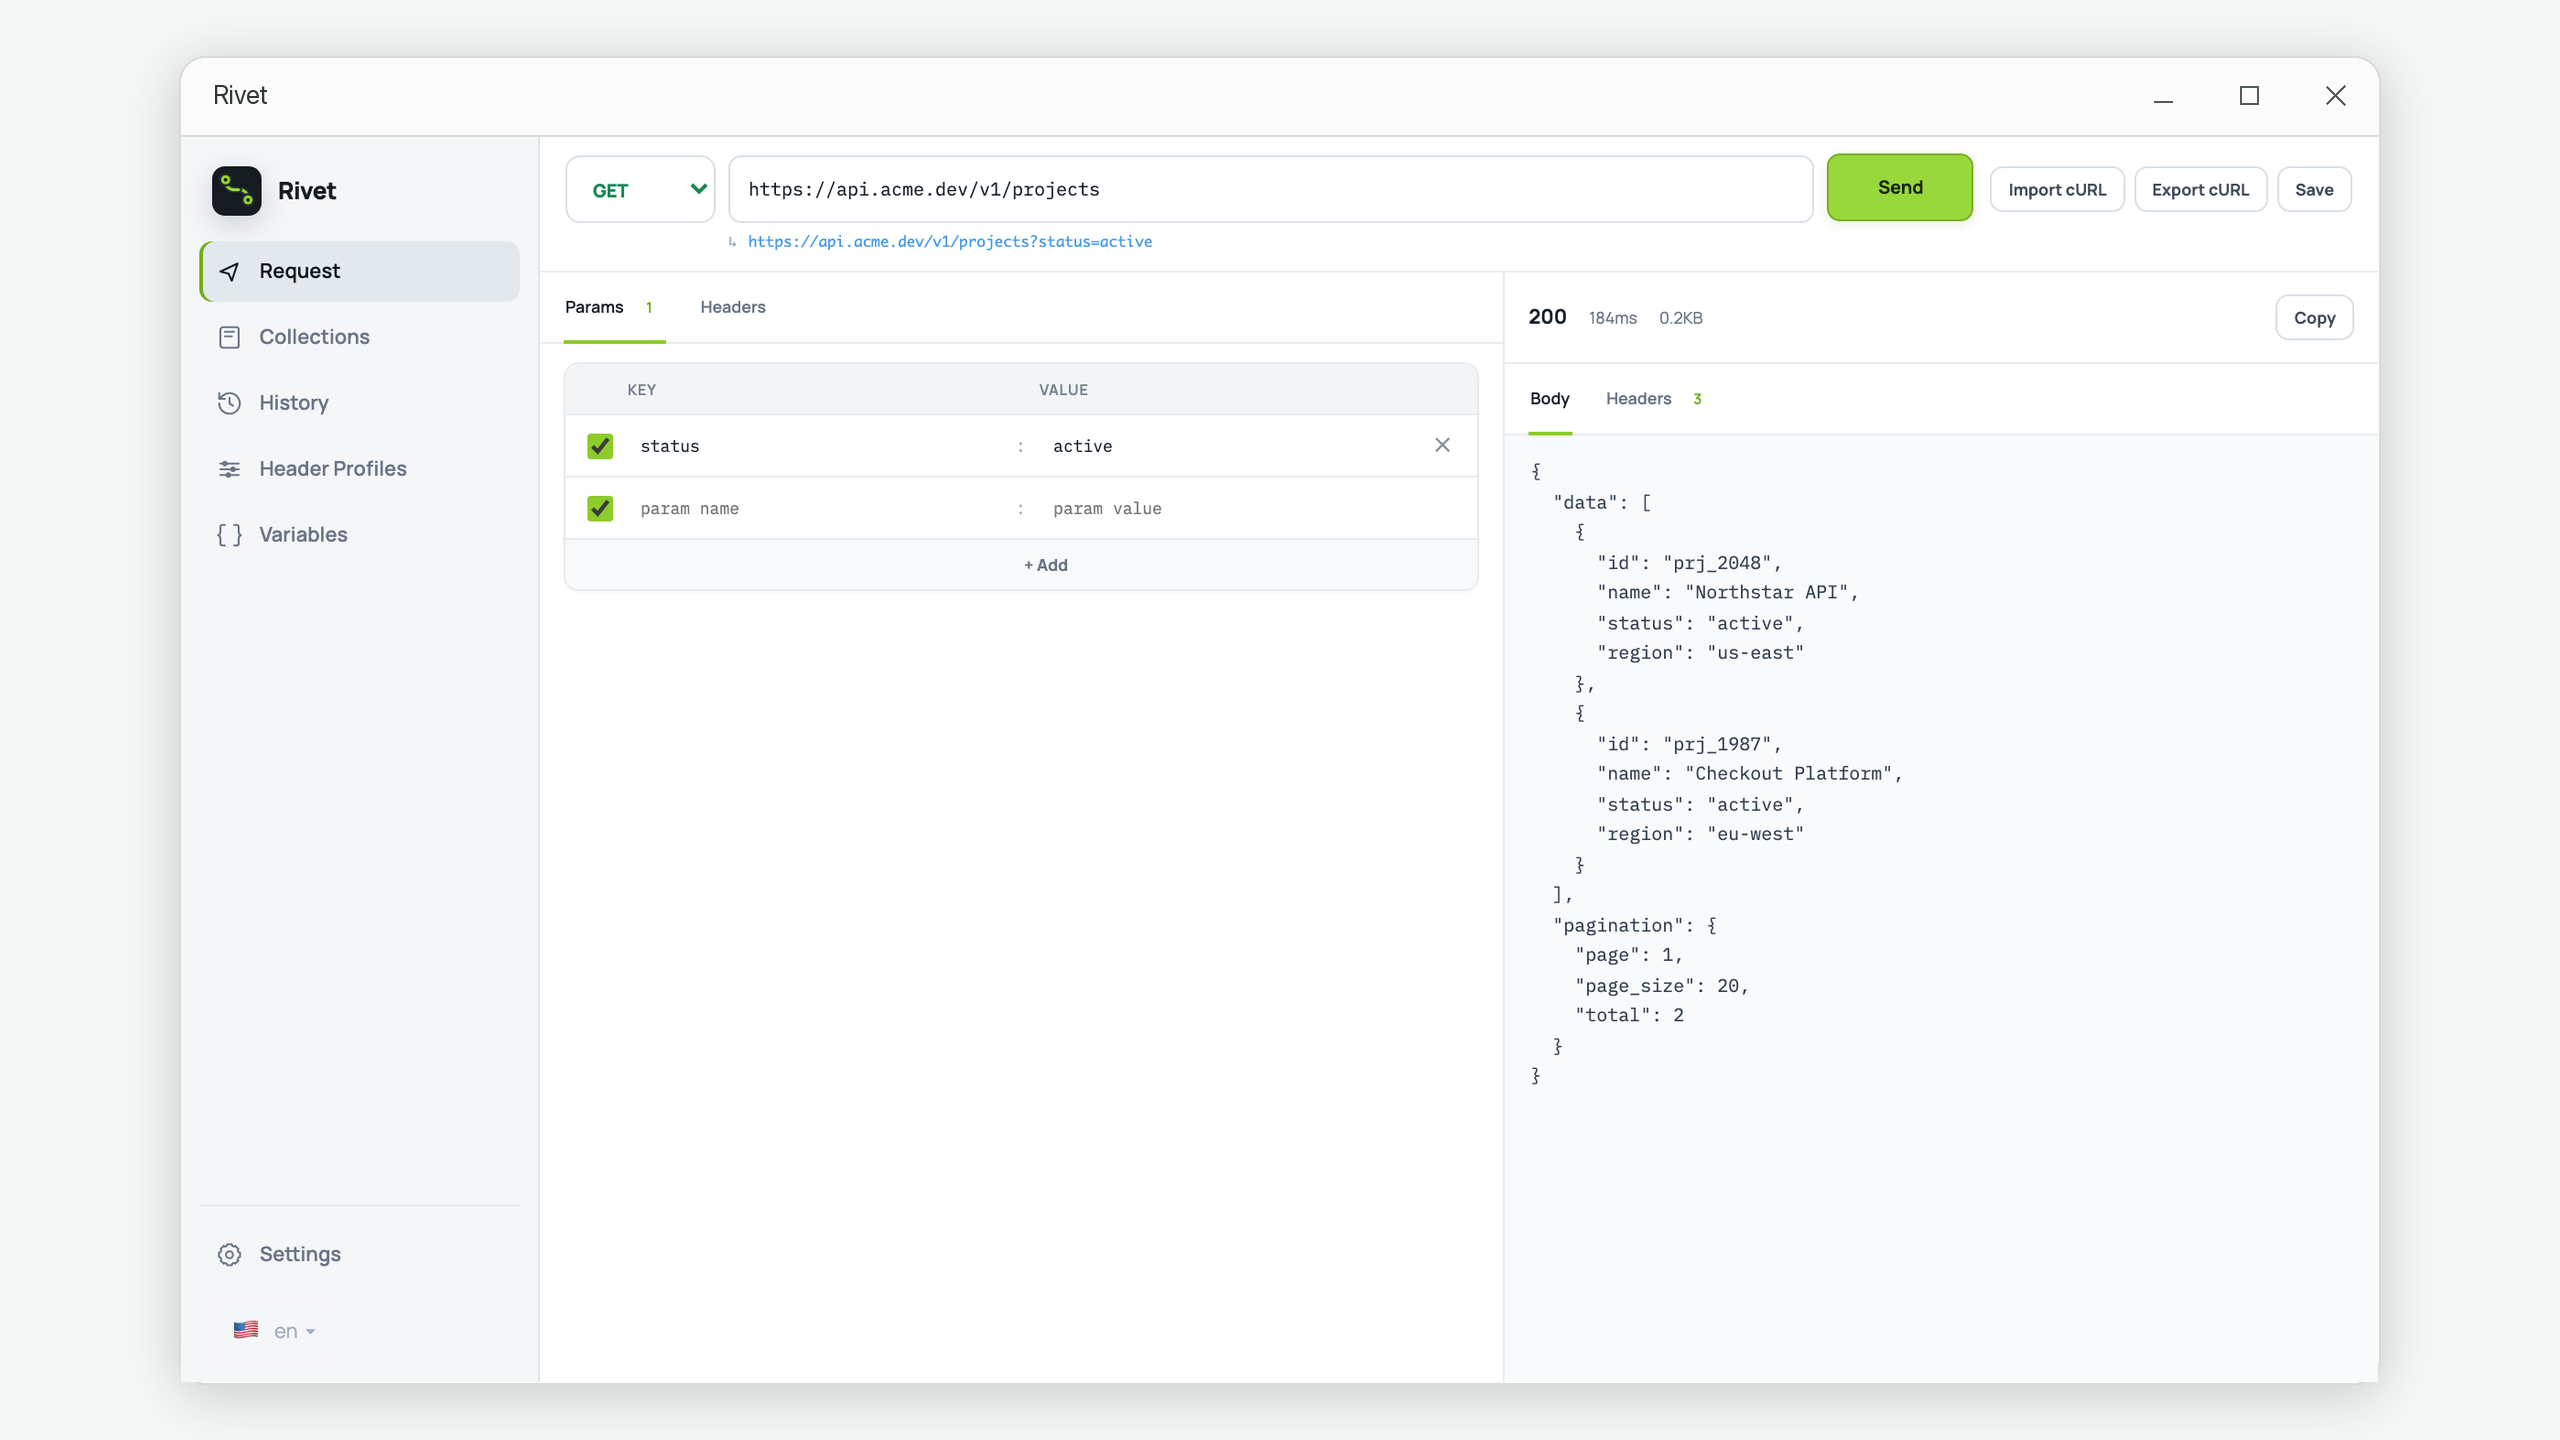
Rivet can save a request and reopen it later, while its history keeps the response snapshot. The same discipline works with a shell script or checked-in API test: keep secrets outside the artifact and make every non-secret input visible.
6. Give the frontend a clear handoff
Share a sanitized cURL command, expected response example, known failure cases, and any required environment information. The frontend developer can then compare the browser request against a verified baseline rather than reverse-engineering the API.
Quick pre-frontend API checklist
- The success request is minimal and repeatable.
- The expected status and response shape are written down.
- Authentication and content type are explicit.
- At least one validation failure has been checked.
- Secrets are removed from saved and shared examples.
- A request or trace ID is preserved for server-log correlation.
Want a visual request baseline?
Rivet keeps the request editor, response inspector, saved requests, and history in a focused local Windows workspace.
Get Rivet from Microsoft Store